FFmpeg, always making headlines every day - look, it’s only been a year, and they’ve already bumped the version number up to 6.0.
So what to do? If you can’t beat them, join them! Let’s also boost the version number for the Jellyfin x Manjaro series.
The third installment of the Jellyfin x Manjaro series only discussed some issues with using QSV, while the installation method highlighted in manually enabling QSV in FFmpeg was quite complex and convoluted. It’s only suitable for “manual-mode pros” like me - automatic mode is the real trend, and manual transmission enthusiasts may find it challenging to succeed!
To put it simply, we need a complete guide that implements QSV acceleration efficiently, utilizes FFmpeg 6.0, and is convenient, quick, and clean!
# Just like this, then that, and another one…
Just kidding! Actually, using QSV on Manjaro is very easy because the software packages you need, want, and don’t want have already been prepared by the experts.
Friendly reminder, this tutorial is only applicable to Intel GPUs that support
intel-media-driver, specific model lists can be found on the Intel Media Driver GitHub repository.
# Step One: Installing Intel GPU Drivers
Intel GPU drivers include the driver intel-media-driver and the front-end APIs intel-media-sdk or onevpl. The newer OneVPL only supports 11th generation and newer Intel GPUs.
# For 11th generation and above
sudo pacman -S intel-media-driver onevpl-intel-gpu

# For other models
sudo pacman -S intel-media-driver intel-media-sdk
After installation, edit /etc/profile.d/libva.sh and add the following two lines to instruct the system to use the latest iHD GPU driver (intel-media-driver) instead of the outdated i965 driver. Restart the system to apply the configuration:
LIBVA_DRIVERS_PATH=/usr/lib/dri
LIBVA_DRIVER_NAME=iHD
Then install libva-utils to check the driver recognition.
sudo pacman -S libva-utils
Run the vainfo command. If you see output similar to the following, it means the driver has been successfully installed.
$ vainfo
Trying display: wayland
Trying display: x11
error: can't connect to X server!
Trying display: drm
vainfo: VA-API version: 1.18 (libva 2.17.1)
vainfo: Driver version: Intel iHD driver for Intel(R) Gen Graphics - 22.5.2 (ccc137c92)
vainfo: Supported profile and entrypoints
      VAProfileNone                   : VAEntrypointVideoProc
      VAProfileNone                   : VAEntrypointStats
      ...
If your computer has multiple GPUs, running
vainfodirectly may result in an error. In this case, tryvainfo --display drm --device /dev/dri/renderD12x, replacing/dev/dri/renderD12xwith the correct GPU file path. As long as one GPU supports the iHD driver, FFmpeg will usually automatically detect and use a GPU that supports QSV.
# Step Two: Installing the Intel OpenCL Backend
The OpenCL backend for Intel GPU drivers is currently provided by intel-compute-runtime to convert HDR videos to SDR for playback. Since the version in the Manjaro official repository is outdated, we will install it from the AUR repository.
The AUR repository is a software package sharing platform where users can submit and publish software packages and installation scripts for others to use. To use the AUR repository, you generally need to install the yay package manager tool.
sudo pacman -S --needed git base-devel yay
Then use yay to install intel-compute-runtime.
yay intel-compute-runtime
Select the pre-compiled intel-compute-runtime-bin from the options presented by yay. After installation, you can use the clinfo command to check if it was installed successfully.
# Step Three (Final Step): Installing Jellyfin and Jellyfin FFmpeg
The recently released Jellyfin 10.8.10 addresses two critical security vulnerabilities and recommends using it with jellyfin-ffmpeg6.
There is a pre-compiled jellyfin-bin package available in the AUR for download, as well as the latest version of jellyfin-ffmpeg6 uploaded by nyanmisaka.
yay jellyfin-bin jellyfin-ffmpeg6
Finally, start jellyfin using systemd and open http://localhost:8096 to begin streaming.
# Start immediately and configure to start on boot
sudo systemctl enable --now jellyfin
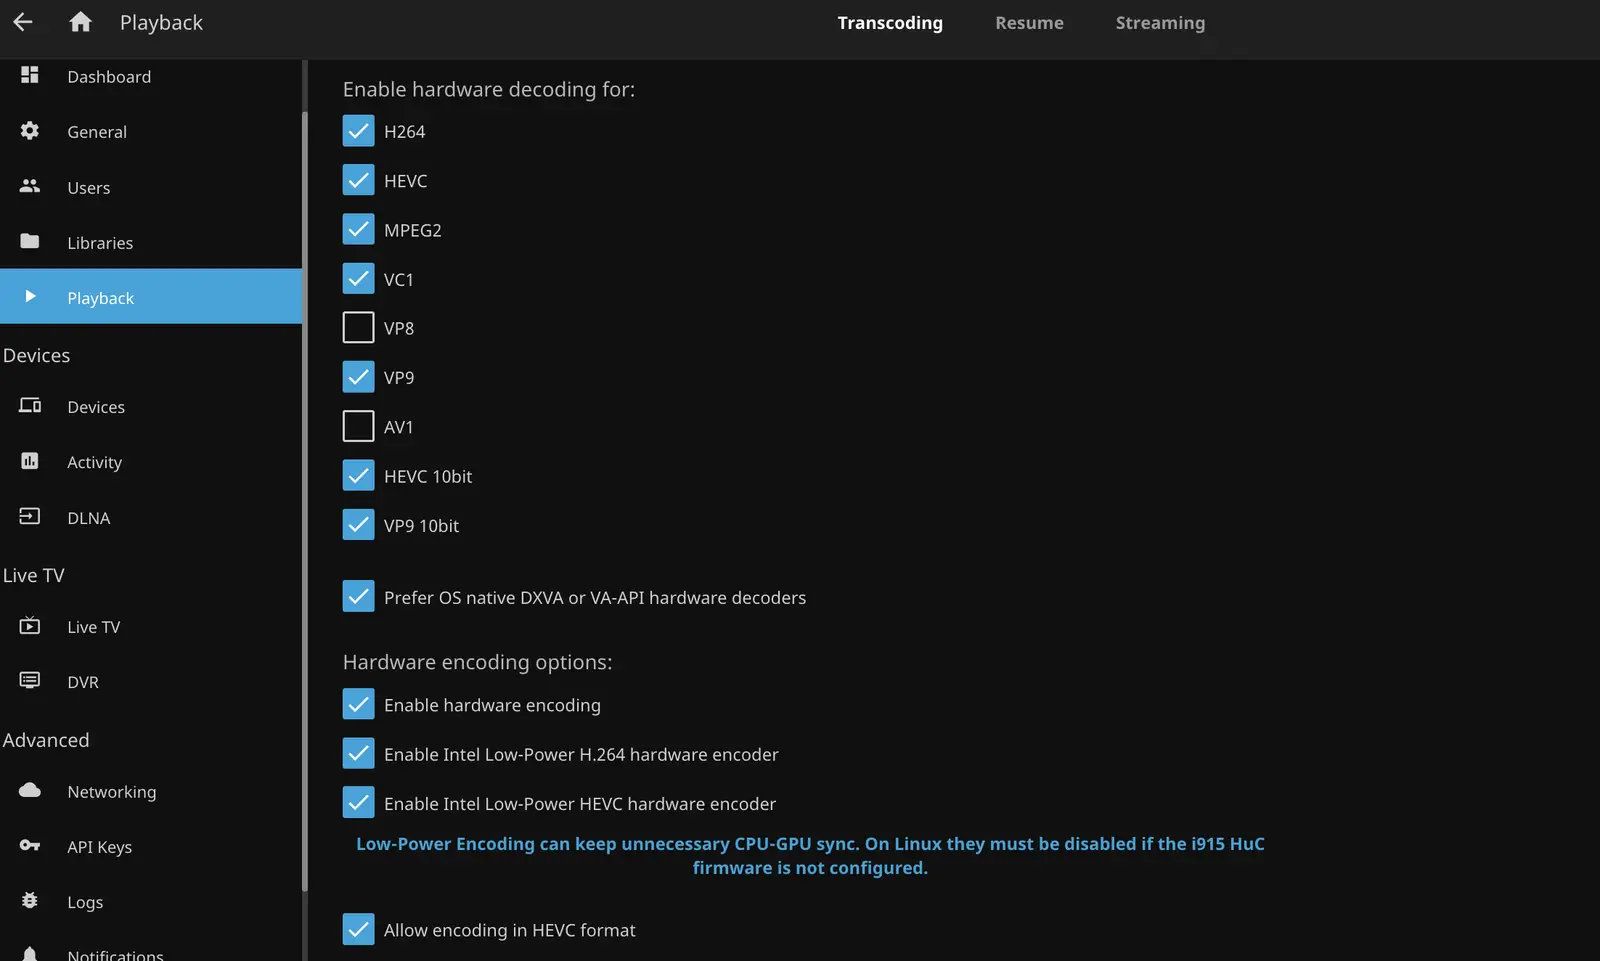
In the Jellyfin web interface, go to Dashboard -> Playback, and set Hardware Acceleration to Intel Quick Sync (QSV).
Refer to the images to select the appropriate transcoding functions.

By completing the configuration, Jellyfin should be all set for your needs.