# The Need for Invention
Honestly, I don’t watch movies that much.
…Alright, I admit it, sometimes I do… or maybe I just like the feeling of owning them.
Desires always expand infinitely. “Out of necessity,” I bought a Raspberry Pi, got a 3TB mechanical drive from the old man, and thus ventured into the world of NAS.
Previously using Manjaro+Windows, I could directly mount the Raspberry Pi’s SFTP server in Gnome Nautilus, double-click a video, and play it using Celluloid. However, it seems that there is no perfect solution on macOS. Trying out Cyberduck, Transmit, Electerm, I found that none of them could provide the smooth experience I had on Manjaro. The best solution was to right-click in FileZilla to get the sftp:// address and paste it into VLC for playback.
So, my attention turned to unconventional methods - attempting to mount the server in Finder.
# Fruitless Endeavors
SSHFS seems to be the only mounting solution I could find.
# Installing macFUSE
Download macFUSE 4.0.5 from the official website, open the .dmg file, and proceed with the installation. After installation, the macOS will need to be restarted as expected.
# Installing Compilation Dependencies
As usual, installing dependencies with homebrew is the easiest and fastest.
# Install Apple Development Tools
xcode-select --install
# Install Homebrew
/bin/bash -c "$(curl -fsSL https://raw.githubusercontent.com/Homebrew/install/HEAD/install.sh)"
Then install necessary dependencies, including python and glib.
brew install python@3.9
brew install glib
# Download and Modify SSHFS Source Code
Since the latest version of SSHFS 3.7.1 does not support macOS, you need to download the source code version 2.10 from the GitHub Repo.
After extraction, as per Pull Request #58 instructions, locate line #1724 and change sshfs.sync_read to 0.
// Force async even if kernel claims its doing async.
// MacOS, see https://github.com/osxfuse/sshfs/issues/57
sshfs.sync_read = 0;
Then, modify line #18 changing # include <fuse_darwin.h> to #include <fuse.h>.
# Compilation
Follow the SSHFS compilation guide for compilation. First, cd into the extracted sshfs-2.10 folder, and then run the following commands for compilation.
./configure
make
sudo make install
# Execution
sshfs [user@]host:[dir] mountpoint [options]
# sshfs [username@]server address:[server path] local mount point [options]
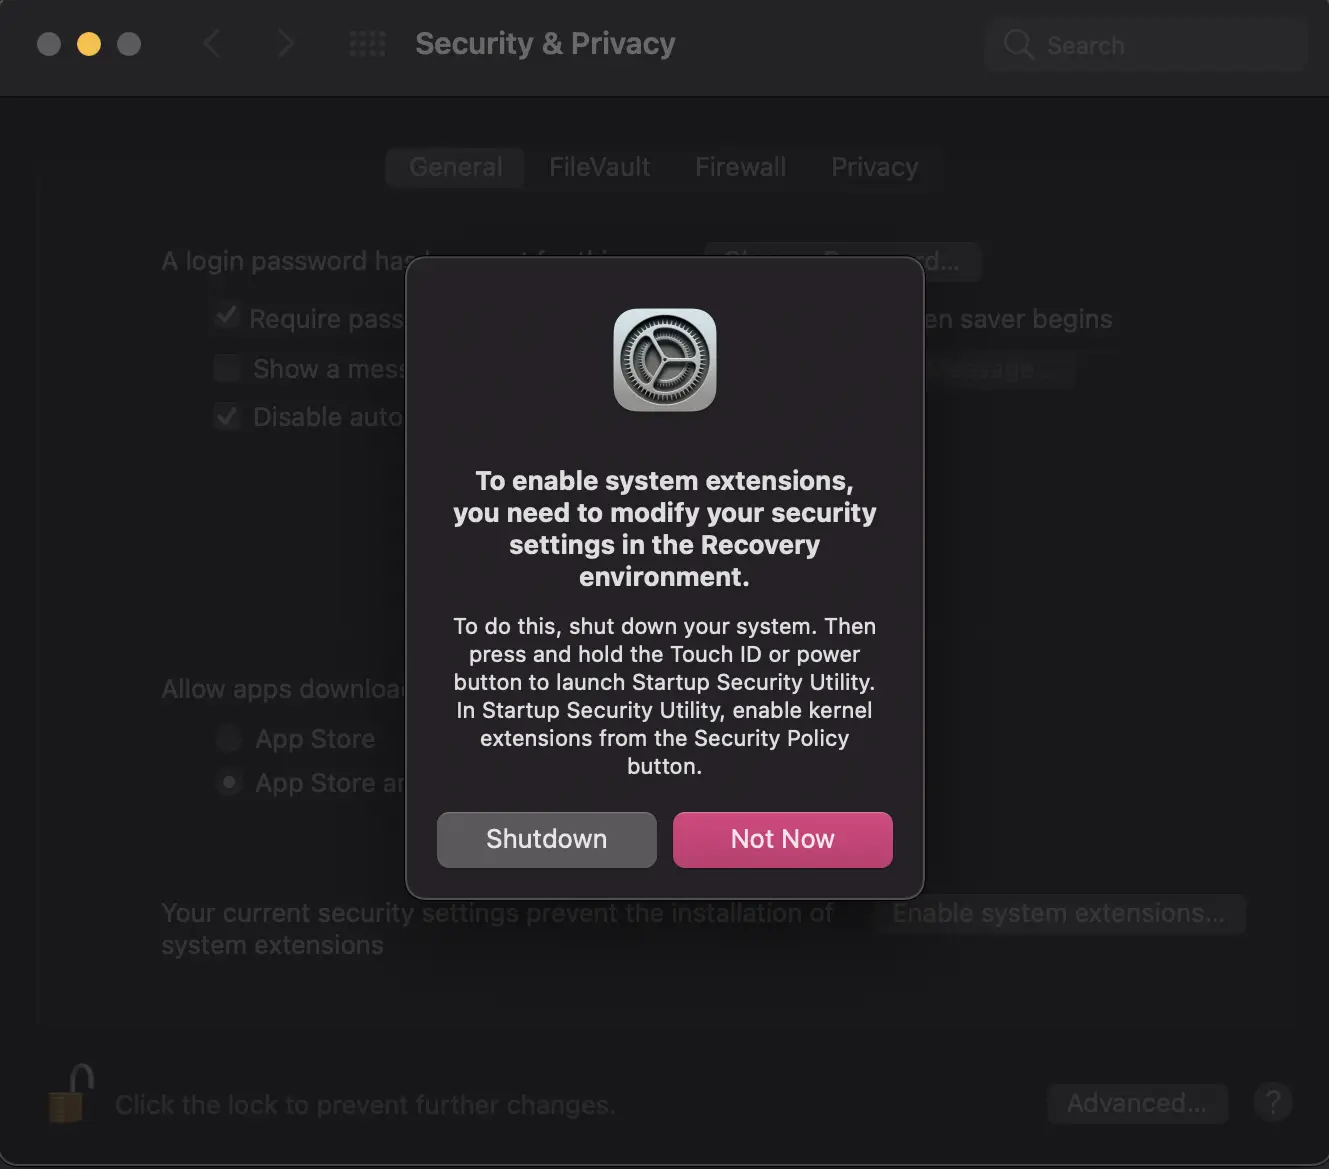
The initial mounting fails because macFUSE needs to add kernel extensions to the system. macFUSE prompts to disable the system security mechanism in System Preferences -> Security and Privacy in order to load the necessary kernel extensions for mounting properly.

Follow the Apple official guide to make modifications in Recovery Mode.
On Mac with Apple silicon, choose
Apple menu -> Shut Down.Hold the power button until you see
Loading startup options.Click on
Options, then clickContinue.If prompted, enter the administrator account password.
Mac will open in Recovery Mode.
In
macOS Recovery, selectUtilities -> Startup Security Utility.Choose the startup disk to set security policies.
If the disk is encrypted with FileVault, click
Unlock, enter the password, then clickUnlock.Click on
Security Policy.Check the security options:
- Full Security: Ensure that only the current operating system or current Apple-trusted signed operating system software can run. This mode requires network access when installing software.
- Reduced Security: Allows running any version of signed operating system software trusted by Apple.
Select
Reduced Securityto enable macFUSE, enter the administrator username and password:- Select the “Allow user management for kernel extensions from identified developers” checkbox to allow the installation of software using older kernel extensions.
Click
OK, restart Mac for the changes to take effect.
Now, go to System Preferences -> Security and Privacy, and you will find an additional option at the bottom. Select it, and you can run software from any source. Run the sshfs command again, and you should be able to mount.
# Ineffectiveness of the Treatment
However, after spending a few hours installing and successfully mounting, I found it tasteless and regretted my efforts.
Using FileZilla, I could achieve transfer speeds of 30MB/s on the local network, while the mounted SSHFS file system could only reach speeds of a few KB/s, making it impossible to smoothly stream videos.
Not always stopping, not always succeeding; not always succeeding, not always stopping.